Pages are a new feature of Question Writer 4 (Professional) that allows you to put multiple questions on the same page. You can add pages directly to the quiz and inside sections too. To add a page, right click on the Quiz, or on a Section, and choose ‘Add -> Page’. You can also add a page from the ‘Add a Question’ menu.
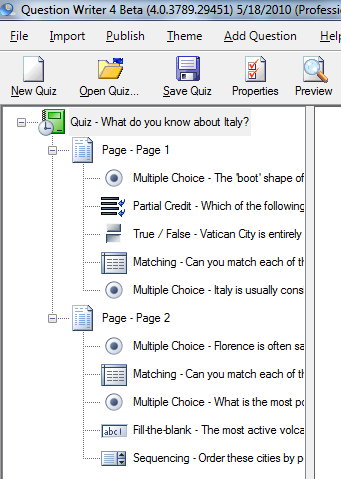
From there, you can add questions to the page (or drag and drop in existing questions.) Here’s what the Italy quiz looks like in the editor, as a two page quiz, with 5 questions on each page. View the Quiz Source
One other thing about using pages – the image zoom functionality will be removed and images will be displayed inline as it can be confusing to have multiple zooming images. You can also take advantage of this when you want some questions to have zooming images, and other not – just put the questions inside pages when you don’t want the images to zoom.
-
Recent Posts
Categories
Monthly Archive